How to Build Stairs in Rust Easy
Learn how to build in RUST and reduce the steep learning curve
RUST demands two primary skill sets from its players. One is the mechanical skills required for combat engagements, i.e., aiming, game sense, and tactical understanding. The other is the ability to build structures where you'll spend most of your time between episodes of violence. Base building is much more than having a fun place to hang out in between fights; knowing how to build a variety of structures is crucial to your advancement in the game.
To build in RUST isn't just about establishing a space in which you live, safe from enemies, and wildlife. Base building in RUST is also about being strategic. Different needs warrant different levels of base security and layout. A good farming base will be different than a good raid base, and a good boat base will be much different than a good main loot base. The characteristics that make a base 'good' for each scenario depends on many factors, but all rely on a good base knowledge of building correctly and quickly.
This guide to building in RUST will cover the following:
- Different Types of Player-Made Buildings
- Crafting Tools Used to Build
- Resources Used to Build
- The Fundamental Building Blocks
Different types of player-made buildings
A variety of base and building types are used by RUST players to aid their progress in the game. Typically, the first building a player makes is the starter base, often a small, simple base used to provide a storage location while farming initial resources. This base can be thrown away entirely or can be the footprint for a permanent base that will be upgraded and expanded upon. Players will work to add additional mass to the base and set up specific features that provide protection.
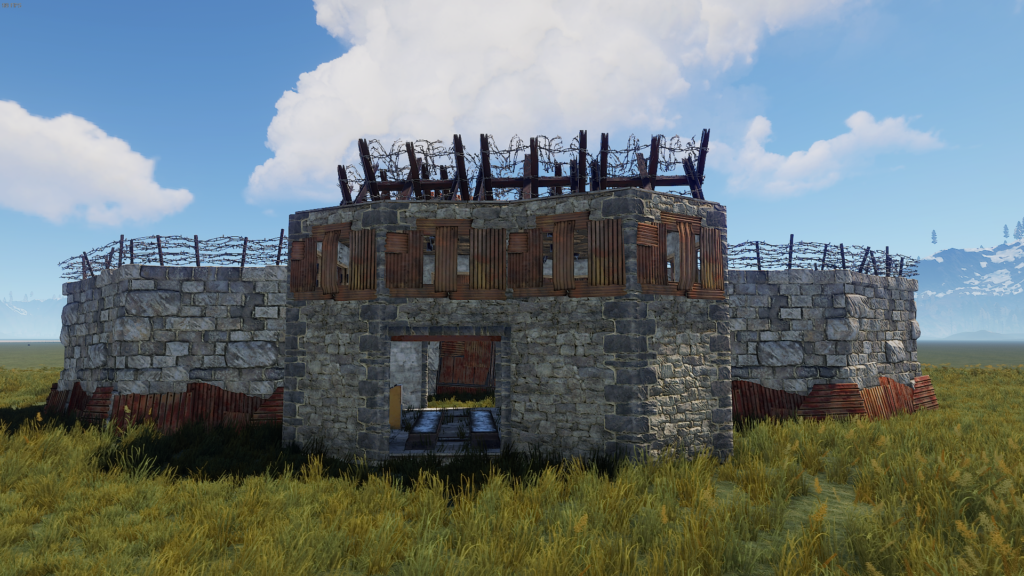
Main-loot-style bases or primary bases are where a solo player, group, or clan spends the majority of their time in-game. These bases take many different forms and designs and are not limited to solo/duo/trio bases, bunker bases, clan bases, cave bases, bus stop bases, etc.
Groups should select the type of base they need based on their team size, the server's general population size, the wipe length, the resource density and decay/upkeep settings of the server, and so on.
A furnace base is a special type of building made to house and protect large furnaces from other players. Large groups and clans will likely find that they require the output of an extensive furnace collection to build and upkeep the large base structures used by their group.
Boat bases are another specialized type of building used to protect watercraft from other players. Since boats are now purchased with scrap and cannot be found as random spawns, it is even more crucial to protect your investment with a secure boat base.
The above building types are just a few of the significant buildings you'll likely need during a wipe. But before you can get started building all of the things, you will need to understand the basics of building. And so, starting from the ground up, here are the tools, materials, and know-how you'll need to get started building in RUST.
Crafting tools used to build
Before you begin to place walls, doorways, and ceilings, you'll need the two essential crafting tools and one base component. The tools are a building plan and a hammer, and the base component is the tool cupboard. Press the Q key; if you have the wood you'll need, a hammer takes 100 wood, and the building plan costs only 20; you will be able to see the tools in the craftable menu. If they don't show up there, type 'hammer' or 'plan' into the search bar and make one of each.
Building plan
 Once you've crafted a building plan, place it on your hot-bar. Select the building plan and look around. The building plan should default to setting a square foundation. Hold right-click to bring up the building wheel menu. Looking at the wheel, you should be able to see each of the building options.
If you want to change what building block you have selected, hold the right-click mouse over the building block you would like to place. Once you release your right-click, you will see the hovering blue building block will change to the block of choice.
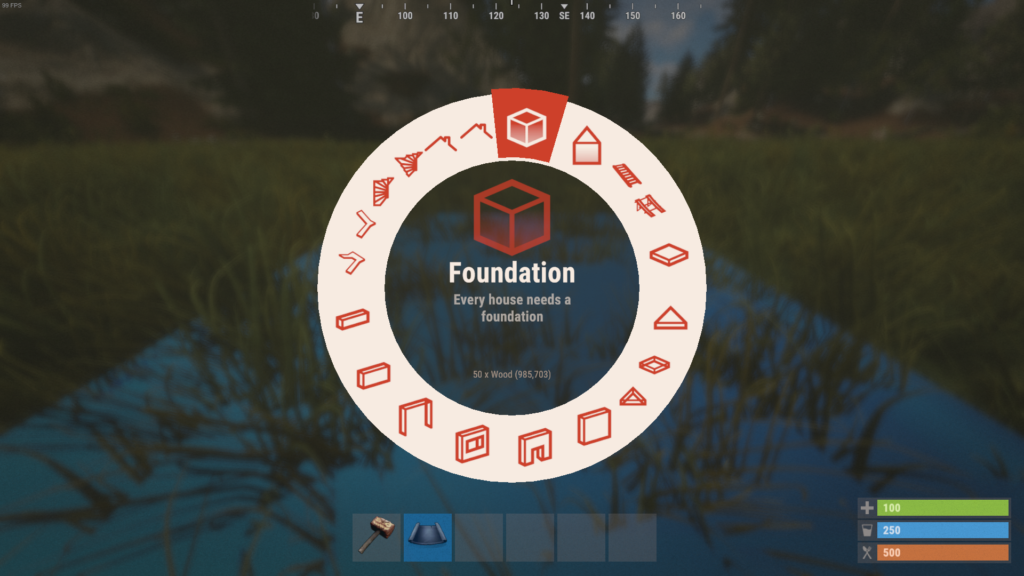
You must place all structures on top of the foundation building-blocks. If you don't have a foundation, you will only see red outlines. If they're red, it means you cannot place the block, either because there is no foundation underneath it or some other broken rule.
Building blocks cannot intersect, the ground, each other, stone outcrops, and large trees. You cannot place a building block through a player while they occupy the space you aim to build on.
Each building block will cost 25-50 wood for you to place as a twig frame. Twig has low health and is only there to act as the framework of your building structure. Its ability to provide defense is nonexistent.
Wood hammer
 Any building blocks placed by the building plan will be in twig by default. As a material, twig is only for outlining the structure you plan to build. When you're ready to upgrade to proper materials, select the hammer on the hot-bar.
With the hammer equipped, look at the surface you want to upgrade and hold right-click. You will get a wheel of the upgrades available, depending upon what resources you have in your inventory.
Mouse over the material you would like to upgrade to and release the right mouse. The block will then upgrade to the new material.
If a building block has taken damage, you can repair it with the hammer by left-clicking on the surface with the required materials in your inventory. You can also use the hammer to destroy or rotate a recently placed building block by holding E and selecting the destroy or rotate option.
Tool cupboard
 The Tool cupboard is a structure you must place securely inside your base. Costing 1000 wood to craft, once placed on a foundation, the tool cupboard grants ownership to the person who deployed it and any other players who touch it.
It also defines your building area, in which other players cannot build. The radius of ownership is approximately 25 meters from the edge of any structure you build, so long as that structure attaches to the foundation, the Tool Cupboard is on.
Tool cupboard privileges include building in the area, upgrading, breaking building blocks, placing and removing base components, i.e., small furnaces, research benches, etc.
If you have Tool Cupboard privileges, you can hold the E key when facing the cupboard to delist all other players or yourself. In doing this, you make sure only you have rights for your building area.
Once you are happy that only you have building rights, you can lock the Tool Cupboard with a crafted lock. Select the lock from the hot bar and mouseover the Tool Cupboard, and left-click to place it. Once you place the lock, mouse over it, and hold the E key and select 'lock.' If it is a key lock, you will not need to do anything more. If you used a code-lock instead, you would need to set a pin.
If you are the player who placed a keylock, you do not need to carry a copy of the key and can destroy any copies you may have by throwing them on the ground inside your base until they despawn.
If a player manages to destroy your tool cupboard, then all building privileges are lifted, and anybody can build in the area until a new tool cupboard is a place.
Resources used to build
New building blocks appear as twigs, which all have ten health each and are susceptible to all damage, breaking easily. You can use twig structures as scaffolding, but never as a deliberate part of the complete base, except for a few advanced base concepts. Once you have committed to a design or part of a structure that will at least secure your tool cupboard, you must upgrade from twig with haste.
Once you place a building block, it will assume a value for decay, depending on the material used. Twig structures will require you to place a small amount of wood in the tool cupboard, or it will decay within an hour. Wood requires wood, stone requires stone, and so on. The tool cupboard will display the amount of material needed on its interface.
Press E key on the tool cupboard to see its inventory and the breakdown of necessary materials to prevent decay. Small bases do not require much, and small amounts of wood, stone, and metal can sustain a small base for many days.
Other building materials take a bit longer to break down. However, once there is no more of the required material inside the tool cupboard, the building blocks will begin to lose health until they break. When this happens, you will see a notification in the bottom right of the screen telling you that the base is decaying.
Wood
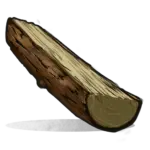 Wood surfaces have 250 health and are much more secure than twig. The average upgrade cost is 100-200 pieces of wood, depending on the building block you are upgrading. Like twig, wood is susceptible to extra damage from fire and can be broken easily with melee weapons and tools.
Stone
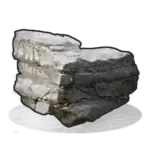 Stone surfaces have 500 health and are much more durable than wood. Stone does not burn when on fire and is the baseline for base security. Once you have upgraded to stone and sheet-metal-doors, players must use explosives if they wish to raid the base. Upgrading to stone can cost between 75 and 300 stone, depending on the building block you are upgrading.
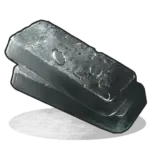
Metal
 Metal surfaces have 1000 health and are resistant to melee and tool damage. Like stone, they are also not able to be set alight. Upgrading to metal will cost between 50 and 200 smelted metal fragments and will require metal fragments as upkeep.
High quality metal
 High quality metal or armored building blocks have 2000 health and are the most sturdy blocks in the game. They cost high quality metal to craft and upkeep. While the costs of upgrading are much smaller, 7-25 HQM, it is a much rarer resource.
The fundamental building blocks
Building foundations
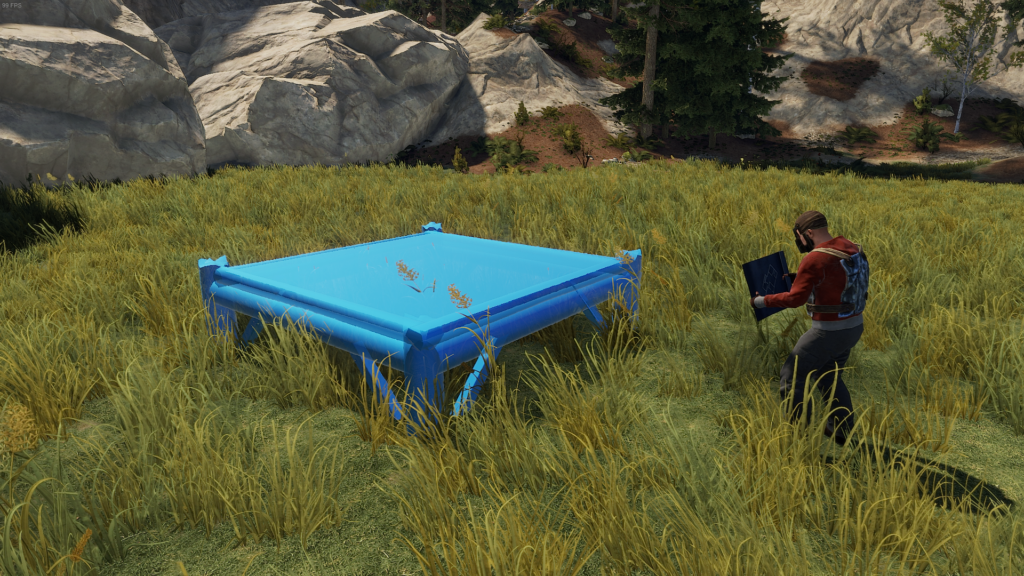
Foundations in RUST are the base building block component you will need. A foundation or set of foundations is the platform on which you will place all other building components.
You can place a square or triangular foundation on almost any surface. You cannot place foundations on a surface that is either too steep, intersects with another object, or enters another player's building privilege area.
When selected on the wheel, the floating blue foundation indicates an area that you can safely place a foundation. Keep in mind the surrounding area as other foundations must be placed connected to the original foundation. If a site is not flat enough, you might not get far with your build.
You can place foundations underwater and at a somewhat elevated position. Side by side, you can place foundations at an extra half height from one another.
Using combinations of triangle and square will allow you to build complex base footprints. However, it is essential to note that a triangle foundation placed too close to a square foundation may be technically allowed but will not let you place walls as the wall structures are considered double-walling.
Some reasons that placing foundations can fail:
Foundation placement can be frustrating at times. When all signs point to a location being valid, but you cannot get the building block to turn blue, here are some conditions to consider:
- Are you possibly building too close to a monument? Monuments have large no-build radiuses, and what may seem like a reasonable distance to begin building may still be in the monument's privilege radius. Some monuments also have underground portions that will extend this radius further than it looks.
- Are you on or near a cave? If you are near a cave that has been claimed, the tool cupboard may be claiming the space you are trying to build. You will see the building blocked notification in the bottom-right of the screen if this is the case.
- If you are on steep terrain, are all four feet of the foundation block firmly in the ground? If even one of the feet is not in-terrain, you will receive the "not in terrain" error.
- Are you too close to a road? Roads have a small perimeter of no-build zone to prevent blockades that may be stopping your foundation placement.
- Are you building too close to another object or person? Sometimes your own avatar may be in the way of placing a foundation. Try moving around to see if the block becomes blue. The same goes for other players, horses, and objects.
Building full walls, half walls, low walls & windows
When you select a wall from the build wheel menu, you will see the floating blue or red wall in front of you. To place it down, you must align the wall piece with an edge of a foundation. Once the wall clicks into place and turns blue, left-click to deploy the wall.
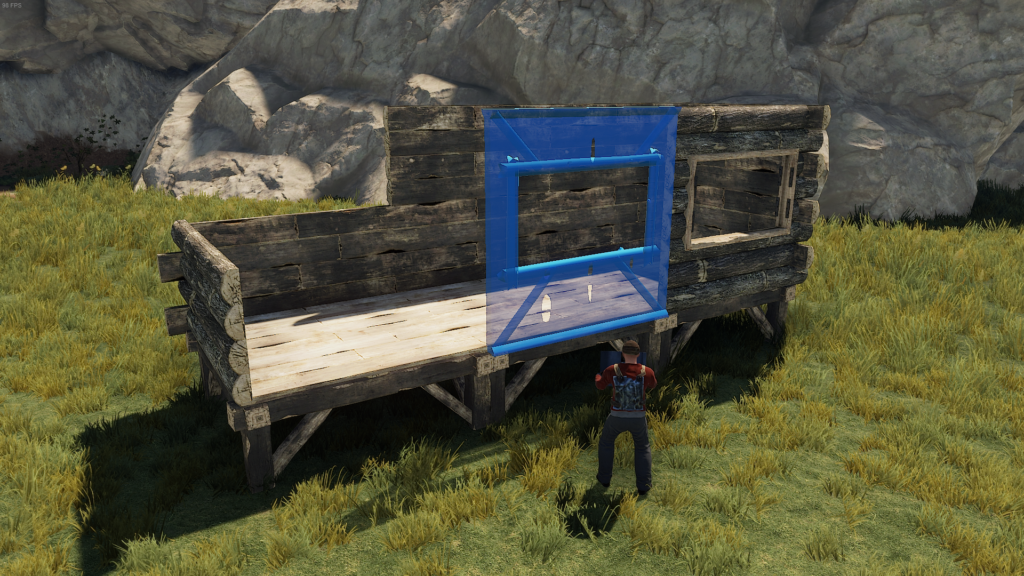
While you're selecting a wall with the building plan, you will see the blue floating wall before you commit to placing it. Pressing the R key will flip the wall's surface, with one side being relatively flat and the other having support palings crossing its surface.
The side with the support palings is the soft side of the wall, which has less health and must be facing inwards as if it's the base's inside wall. If you misplace a wall, you have 5 minutes to choose to rotate it with a building hammer before it locks into place.
If you wish to rotate the wall again after this time has passed, you can do so once you've upgraded it.
There are three different types of walls to choose from; full, half, and low. A full wall is the same dimensions as a foundation, but vertical. The half-wall is precisely the half-height of a full wall and can be placed one atop another to create a full wall if you wish.
You can use half-walls to place a floor building block halfway up the wall, divide a space horizontally, or fill gaps when your foundation placement has been uneven. A half-wall, however, costs the same in resources and upkeep as a full wall. So use them sparingly.

The low wall has few practical uses in base building and usually only applies to rooftops as a short cover you can duck behind when shot at from below. They can also be used in a base to create a surface on which you can place some base components, such as boxes.
The window frame is placed in the same manner as a wall and has a soft side. Once set, you may put any of the player-built windows into the window frame. Be mindful that a window may have a different health value to the wall's health, which will make the window wall a weak point and a targeted point of entry for raiders.
Some windows are also not considered closed surfaces, which players can shoot through. As well as a window, you may place a secondary item on the frame, such as shutters. Windows may be tempting, but you should avoid them unless you have sufficient capacity to utilize them as a PVP mechanic. Improper use of windows can give players a glimpse into your base and can compromise base security.
Building floors & floor frames
When selected on the wheel menu, a floating flat surface will appear. Align this with the top edge of a wall to connect and place. Flooring can be square or triangular, and in most situations, it should match the foundation's shape under it.
You can use flooring to create a second floor on your base and the base roofing. The underside of flooring is considered its soft side and will take more damage than the top.
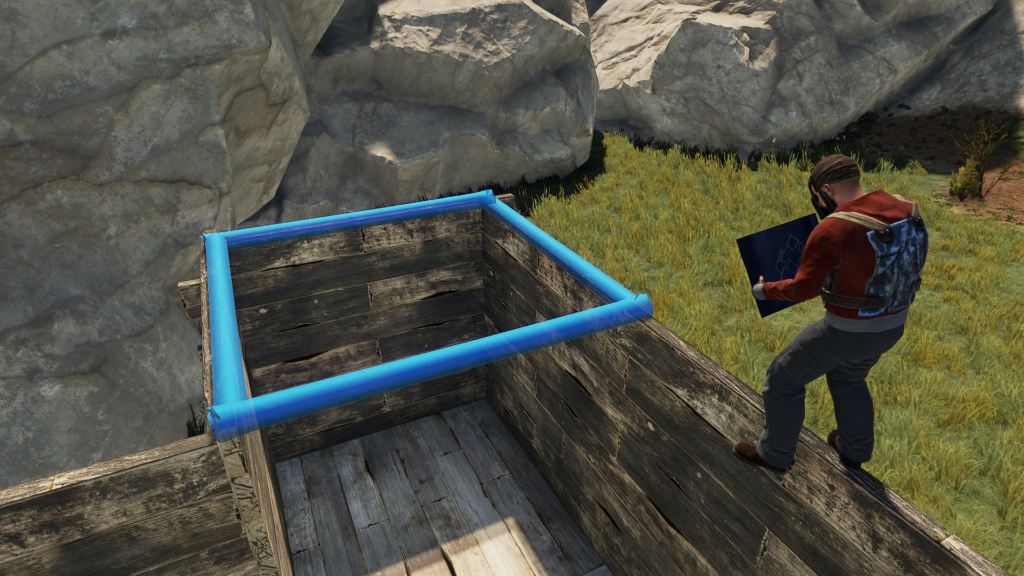
If you want to place a ladder-hatch or staircase, you will need to use the floor-frame. Put a frame around the space you want to place a hatch or stairs in the future. Setting the frame before placing other features such as stairs is essential, as adding other components after the frame is in place can be difficult.
Unlike flooring, a floor frame has no soft side but is often forgotten when upgrading surrounding components. Always upgrade your floor frames when able; otherwise, raiders can destroy them with less effort and cause hatches to fall out.
Building single & double doorways
When you want a doorway, select it from the building wheel. Much like placing a wall, a doorway will connect with the edge of a foundation or floor piece. The soft-side of a single doorway must face inwards.

A single doorway permits only the building of single doors. The versatility of single doors is its nature only to open a certain amount. If placed correctly on the same triangle foundation, you can use a single open door to block entrances and create a door block airlock.
Double doors have no extra health, but you can eventually upgrade your doors to garage doors or switch them out with shopfronts if you build a double door frame.
Building roofing
You can recognize roofing on the building wheel as a 45 degree angled surface. You can place roofing over top of a base that already has floors as roofing. You can place roofing by standing on the surface you wish to roof over and crouching while looking at the floor edges.

Alternatively, you can place roofing from inside your base by looking up at the edge you wish the roofing to build on.
You cannot place most components on top of roofing due to its sharp angle, making it difficult to maneuver. There are many advanced uses for roofing, but we recommend its standard placement for the sake of base defense.
Roofing provides an extra layer of defense to the top of your base, which is usually quite vulnerable to sizable explosive damage. Having roofing in place will slow down roof raiders and is often a wise complement to any sized base.
Building standard & spiral staircases
A standard or spiral staircase is a base block that will take up an entire foundation. The 'U-shaped' and 'L-shaped' stairs can only fit on square foundations, whereas the spiral staircases have a square and triangular variant.

Staircases give vertical access to the base, with room for a door at the staircase's top and bottom. You can place 'U' and 'L-shaped' stairs over other base components such as small furnaces and storage boxes.
It is rare to use stairs as a defense mechanism. As such, it is wise to leave them as wood or even twig in case you wish to remove the steps yourself to replace the vertical shaft with a ladder hatch.
Building steps & ramps
The steps on the building wheel are typically outdoors. Once selected, the steps must be aligned with the edge of a foundation and will angle downwards, often disappearing into the ground. Steps exist primarily to give access to a slightly elevated doorway and mitigate hitting the lower lip of a door as you try to cross the threshold.

While it may seem insignificant, having these steps even when your doorways are only an inch off the ground can stop pesky stalling as you hurry to reenter your base. Much like indoor staircases, steps can be left as wood or twig so that you might easily remove them.
The Ramp is placed in the same manner as steps and was added to the game to facilitate the modular car update. Primarily for vehicles, ramps must lead up to a garaged doorway to permit vehicles across the threshold.
The unlimited potential of building in RUST
There is an almost infinite number of ways to combine the building blocks provided in RUST. Different base designs make more sense than others due to various factors, including your team size, the type of server you play on, the wipe length, and more. Understanding these different elements can help you decide what a good base for you and your team might be for the wipe.
Numerous guides cover the potential layouts and base designs, and it is wise to absorb what you can from their mechanics and use cases, but be aware, to copy them exactly is to give keen raiders a perfect blueprint of your base.
So don't be afraid to experiment and apply what you've learned through guides and videos in your way.
Source: https://www.corrosionhour.com/how-to-build-in-rust/
0 Response to "How to Build Stairs in Rust Easy"
Post a Comment